Manually Sync Your Forked LobeChat Repository A Step-by-Step Guide
Hey guys! It looks like there's a bit of a hiccup with syncing your forked LobeChat repository. Don't worry, it's a pretty common thing, and we're here to walk you through it. Basically, due to a change in the workflow file of the upstream LobeChat repository, GitHub has automatically suspended the scheduled automatic updates. This means you'll need to manually sync your fork to stay up-to-date with the latest and greatest features and fixes. Think of it like this: the main LobeChat project has made some changes, and your copy needs to be updated to reflect those changes.
The good news is that manually syncing your fork is a straightforward process, and we've got a detailed tutorial to help you every step of the way. Whether you're a seasoned developer or just getting started with Git and GitHub, you'll find the instructions easy to follow. This tutorial will guide you through the process of fetching the latest changes from the upstream repository and merging them into your fork. It’s like giving your forked repository a fresh injection of the newest code! So, if you are facing issues with keeping your forked repository in sync, manually syncing your fork is the go-to solution. We understand that sometimes these technical details can seem a bit daunting, but trust us, it's not as scary as it sounds! By following the tutorial, you’ll ensure that your fork is in tip-top shape and ready to roll.
Why is this happening, you might ask? Well, the upstream repository (the original LobeChat project) has undergone some changes to its workflow files. These workflow files are like the behind-the-scenes scripts that automate certain tasks, such as updating dependencies or running tests. When these files are modified, it can sometimes disrupt the automatic syncing process for forks. That's why GitHub has temporarily suspended the automatic updates to prevent any potential issues. This ensures that everyone's forks remain stable and consistent. The change in the workflow file is a crucial update that optimizes how the LobeChat project functions, making it essential for everyone to sync their forks. Remember, staying updated is vital for experiencing the best performance and accessing the latest features. Manual syncing ensures your forked repository benefits from these advancements without any hiccups.
So, what exactly does it mean to "sync your fork"? In essence, it's about bringing your forked repository up to par with the original repository. When you fork a project on GitHub, you create a personal copy of that project in your own account. This allows you to make changes, experiment with new features, or contribute to the original project without directly affecting it. However, the original project (also known as the upstream repository) continues to evolve, with developers adding new features, fixing bugs, and making other improvements. Syncing your fork is the process of pulling these changes from the upstream repository into your own forked repository. This ensures that your fork remains aligned with the latest version of the project. It’s like getting the latest software update for your phone – you want to have the newest features and bug fixes, right? The same applies to your forked repository.
Think of syncing your fork as keeping your personal copy of a document aligned with the original. If the original document is updated, you need to update your copy as well. This ensures that you're working with the most current information. In the context of software development, this means you'll have access to the latest code, bug fixes, and security patches. This keeps your project running smoothly and prevents any compatibility issues. Regular syncing is a best practice in collaborative software development, ensuring that all contributors are working with the same baseline.
Here's a simple analogy: Imagine you have a recipe that you forked from a friend's cookbook. Your friend adds some new ingredients and tweaks the instructions. If you want to make the updated recipe, you need to sync your forked recipe with the original. This is precisely what syncing your fork on GitHub does. It ensures that your version of the project incorporates all the latest changes and improvements. It’s like getting the updated instructions to bake the perfect cake! So, don’t delay; sync your fork today and keep your LobeChat experience top-notch.
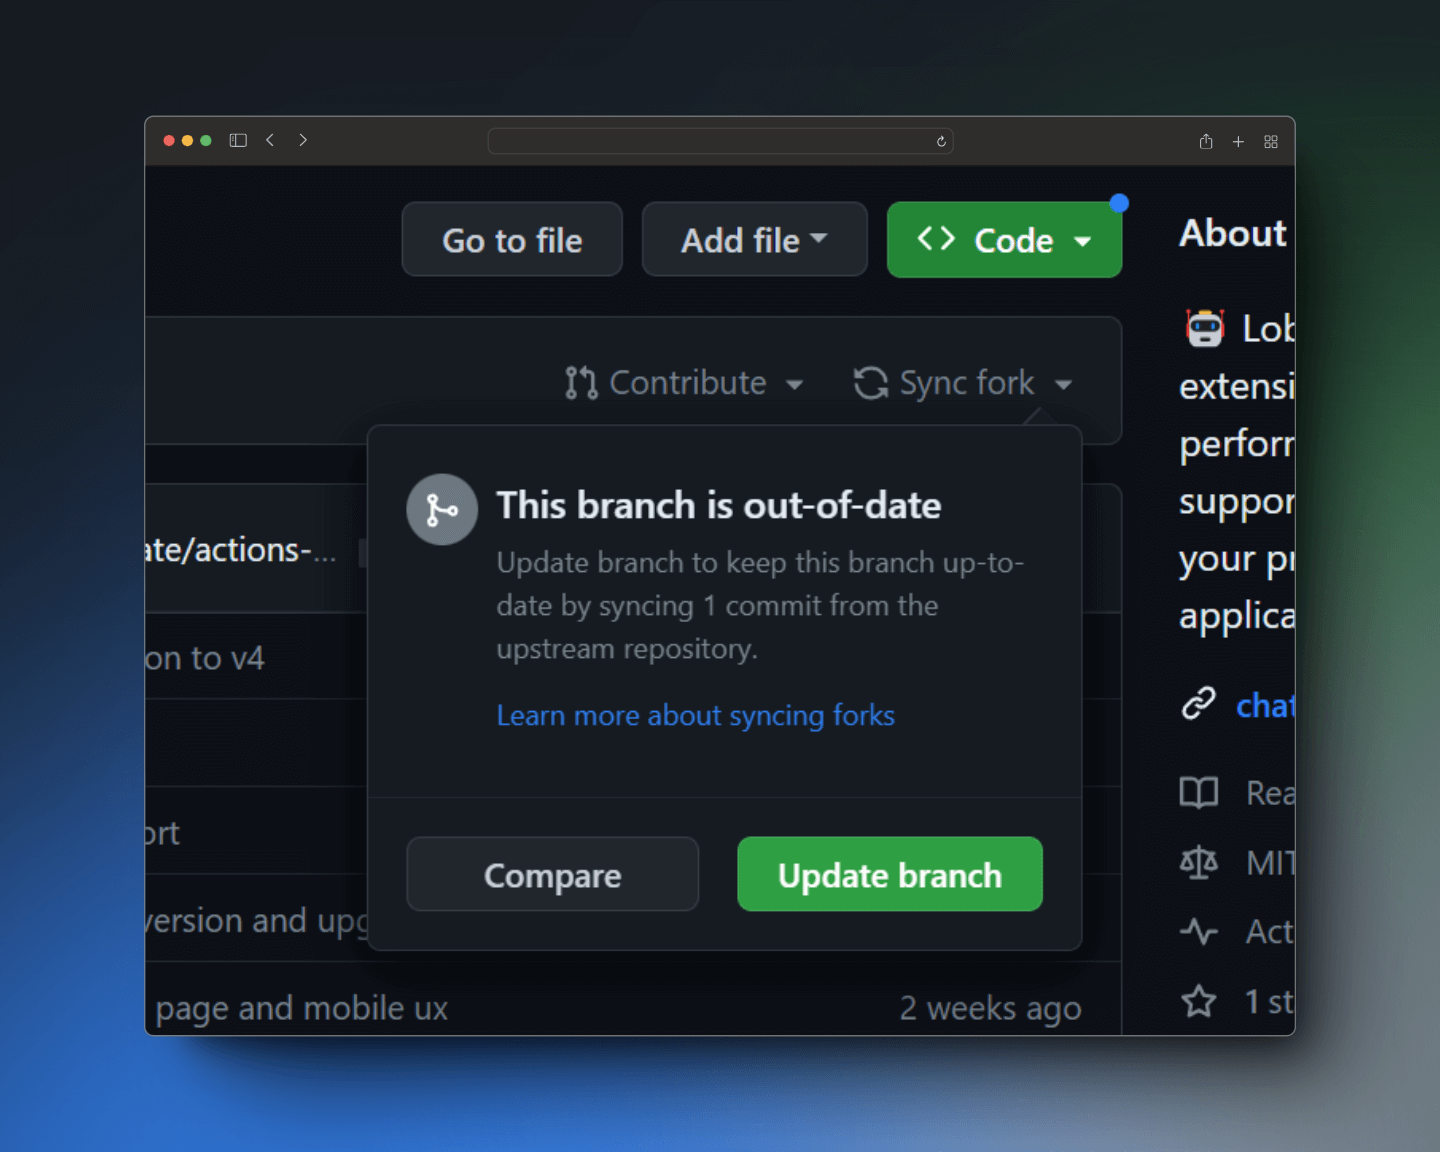
To make the syncing process as smooth as possible, we've created a comprehensive tutorial that walks you through each step. This tutorial is available in both English and Chinese, ensuring that everyone can easily follow along. Whether you prefer a visual guide or a written explanation, you'll find the instructions clear and concise. We've broken down the process into manageable steps, so you won't feel overwhelmed. Plus, we've included plenty of screenshots to help you visualize each action. This hands-on guide is designed to make syncing your fork a breeze, even if you’re not a tech whiz.
The tutorial covers everything from setting up the necessary tools to executing the sync command. You'll learn how to use Git, the version control system that powers GitHub, to fetch the latest changes from the upstream repository. You'll also discover how to merge these changes into your forked repository, resolving any conflicts that may arise along the way. Don’t worry if these terms sound unfamiliar right now – the tutorial explains them in plain English, so you’ll become a Git pro in no time! By the end of the tutorial, you'll have a fully synced fork, ready for action.
Steps to Manually Sync Your Fork
The tutorial provides step-by-step instructions, but here's a general overview of the process:
- Set up your local environment: This involves installing Git on your computer and configuring it to work with your GitHub account. Git is the tool that allows you to track changes to your code and collaborate with others. Think of it as the engine that drives the syncing process. Setting up your local environment ensures that you have all the necessary tools to sync your fork effectively.
- Fetch the latest changes from the upstream repository: This is like downloading the latest version of the project to your computer. You'll use a Git command called
git fetchto retrieve the changes from the upstream repository. This command downloads all the new commits, branches, and tags from the upstream repository without merging them into your local branch. It’s like gathering all the ingredients for your updated recipe. - Merge the changes into your forked repository: This is where you integrate the new changes into your own copy of the project. You'll use a Git command called
git mergeto combine the changes from the upstream repository with your local branch. This command applies the changes to your code, updating it to the latest version. It’s like combining the new ingredients with your existing recipe and baking the updated cake. - Resolve any conflicts: Sometimes, the changes in the upstream repository might conflict with changes you've made in your fork. This is like having two different versions of the same ingredient – you need to decide which one to use. Git provides tools to help you resolve these conflicts, allowing you to choose which changes to keep. Don’t worry; the tutorial provides guidance on how to handle these situations.
- Push the changes to your forked repository on GitHub: This is the final step, where you upload the synced code to your GitHub account. You'll use a Git command called
git pushto send the changes from your local computer to your forked repository on GitHub. This ensures that your online copy of the project is up-to-date. It’s like sharing your newly baked cake with the world!
Here are the links you'll need:
This issue has been identified by julianandrade and my-lobe-chat. Thanks to them for bringing this to our attention!